Bernese Oberland Traverse: The Ultimate 7-Day Hiking Guide
After hiking the Tour du Mont Blanc a few years ago, we knew we wanted another hut-to-hut adventure in Europe.
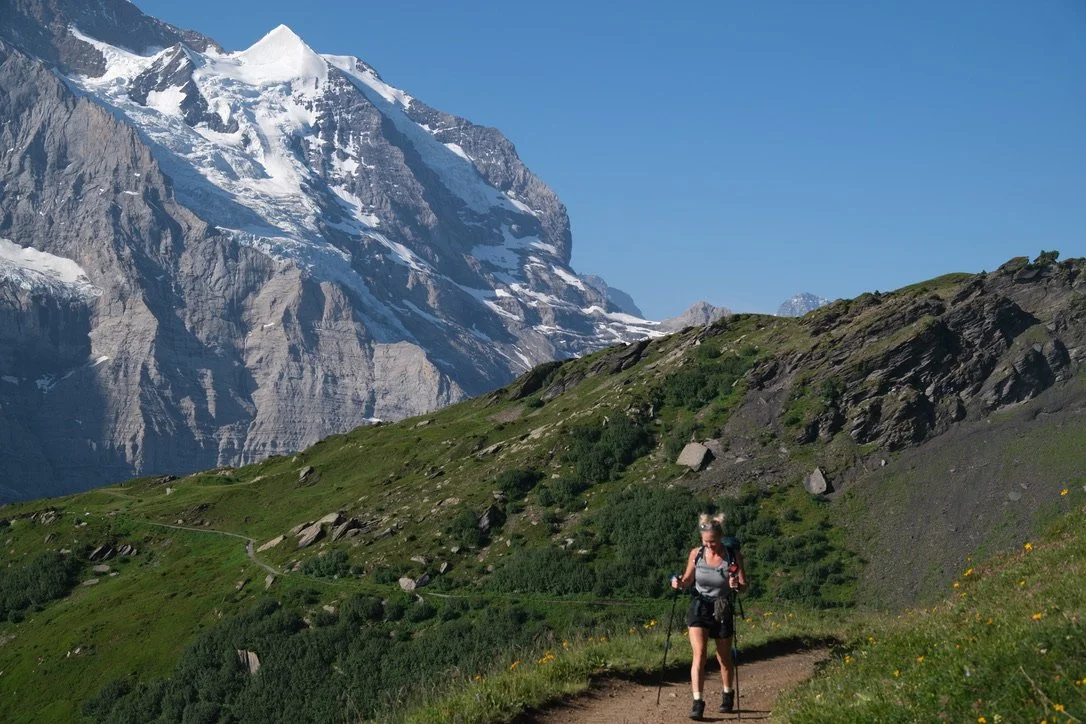
The Bernese Oberland Traverse ended up exceeding every expectation we had—and if you’re looking for spectacular scenery without needing technical mountaineering skills, I genuinely think it’s one of the best multi-day hikes in Switzerland.
This guide is for you if:
✔ You’re planning the Bernese Oberland Traverse independently.
✔ You’re deciding between this hike and another Swiss trek.
✔ You want to stay in huts instead of camping.
✔ You’d rather travel by train than rent a car.
✔ You’re looking for a realistic breakdown of costs, logistics and what it’s actually like on the trail.
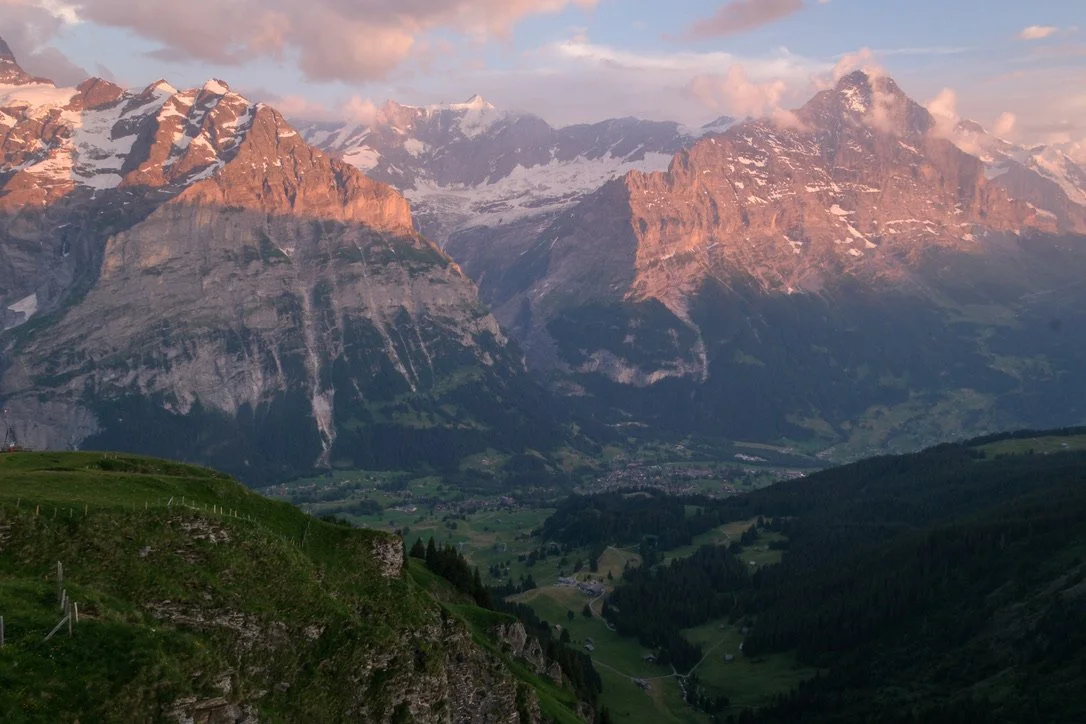
Bernese Oberland Traverse at a Glance
Location Bernese Oberland, Switzerland
Distance 116 km (71 mi)
Duration 7 Days
Difficulty Challenging
Highest Elevation Gemmi Pass
Accommodation Mountain huts & hotels
Best Time to Visit July–September
Route Point-to-point
Navigation Excellent trail signage + GPX
Transportation Swiss trains, buses & cable cars
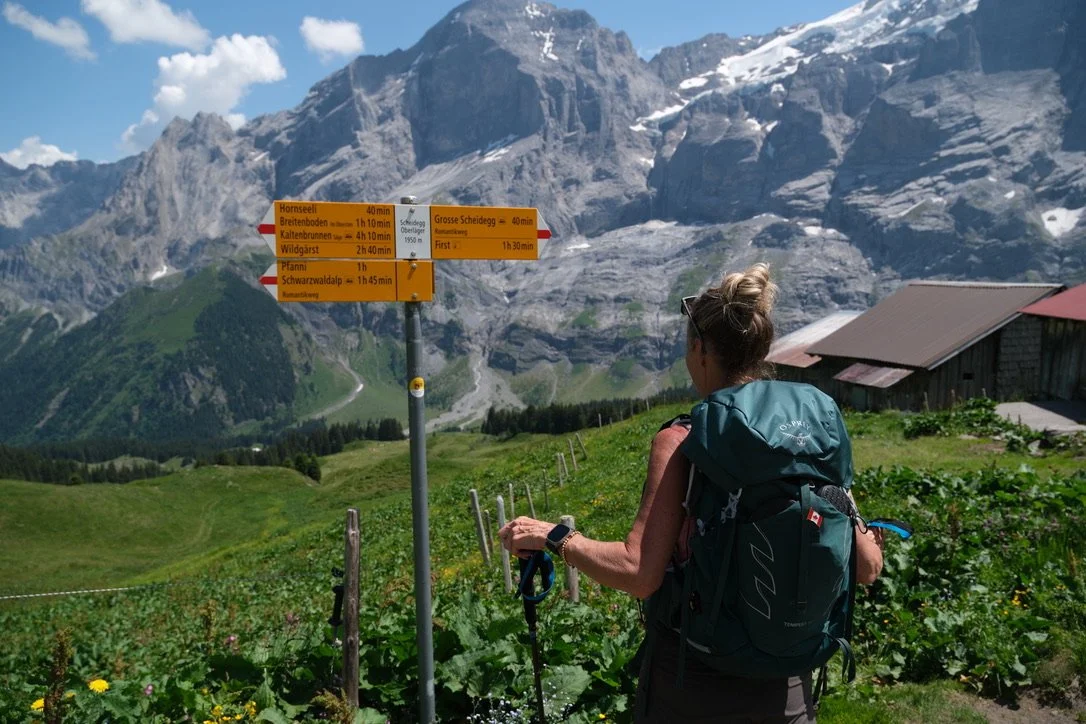
What is the Bernese Oberland Traverse?
The Bernese Oberland Traverse is a multi-day hut-to-hut hike through one of the most spectacular regions of the Swiss Alps. Rather than hiking in one large loop, the trail connects mountain villages, alpine huts, scenic passes, and glacier-filled valleys using Switzerland’s incredible public transportation network.
One of the things we loved most about this hike was how varied every day felt. One morning we’d be walking through peaceful forests, the next we’d be crossing an alpine pass surrounded by glaciers, and by the afternoon we’d be enjoying coffee in a traditional Swiss village.
The route can be completed in several different ways, with itineraries ranging from five to eight days depending on your pace and accommodation choices.
We chose a 7-day westbound itinerary planned through The Hiking Club, beginning in Meiringen and finishing in Leukerbad. This route covered approximately 116 kilometres (71 miles) with around 7,900 metres (25,900 feet) of elevation gain spread across the week.
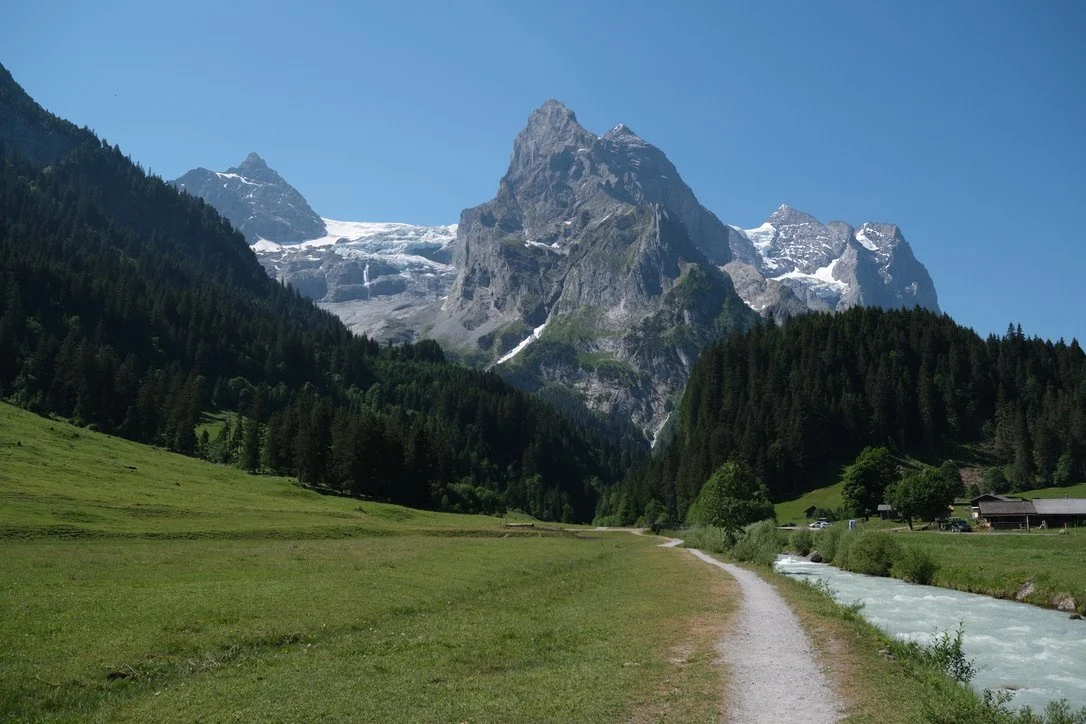
Why We Chose the Bernese Oberland Traverse
After hiking both the Tour du Mont Blanc and spending time exploring the Dolomites, we wanted our next trip to feel a little different.
As incredible as those destinations are, they’re also some of the busiest hiking regions in Europe. This time, we were looking for quieter trails, unique mountain huts, and the chance to experience a new part of the Alps without feeling like we were following the crowds.
The Bernese Oberland Traverse checked every box.
What I loved most about this route was the variety. Every day felt completely different, taking us through glacier-covered peaks, flower-filled alpine meadows, waterfalls, dramatic mountain passes and charming Swiss villages. Some nights we stayed in historic mountain huts perched high in the Alps, while others we treated ourselves to comfortable hotels with spas and incredible food.
Another huge draw was how easy Switzerland makes this type of adventure. The public transportation network meant we could move seamlessly between trailheads without ever needing a car, and using SBB’s luggage transfer service allowed us to hike with lightweight day packs instead of carrying two weeks’ worth of gear.
Looking back, this ended up being one of my favourite hiking trips in Europe. It offered everything we were hoping for—spectacular scenery, quieter trails than we experienced on the Tour du Mont Blanc, unforgettable mountain huts and enough flexibility to build an itinerary that felt completely our own.
Related Reading: If you’re considering other iconic hut-to-hut hikes in Europe, check out my complete Tour du Mont Blanc Guide, where I compare planning, accommodation, logistics and what I’d do differently after hiking one of the world’s most famous long-distance trails.
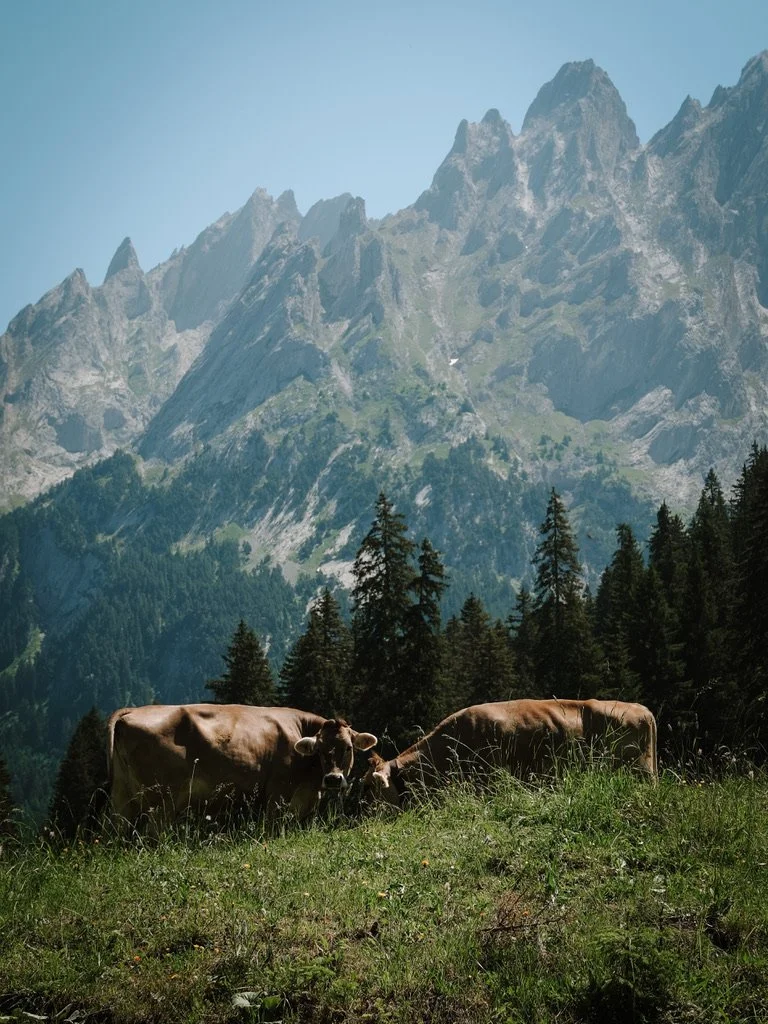
Planning Your Bernese Oberland Traverse
One of the biggest strengths of the Bernese Oberland Traverse is how customizable it is.
Unlike many long-distance hikes that follow one fixed route, there are countless ways to experience this region. You can complete the traverse in as little as five days, stretch it into ten or more, stay exclusively in mountain huts, or mix huts and hotels like we did.
There isn’t one “right” itinerary—it’s about building a trip that matches your hiking experience, fitness level and travel style.
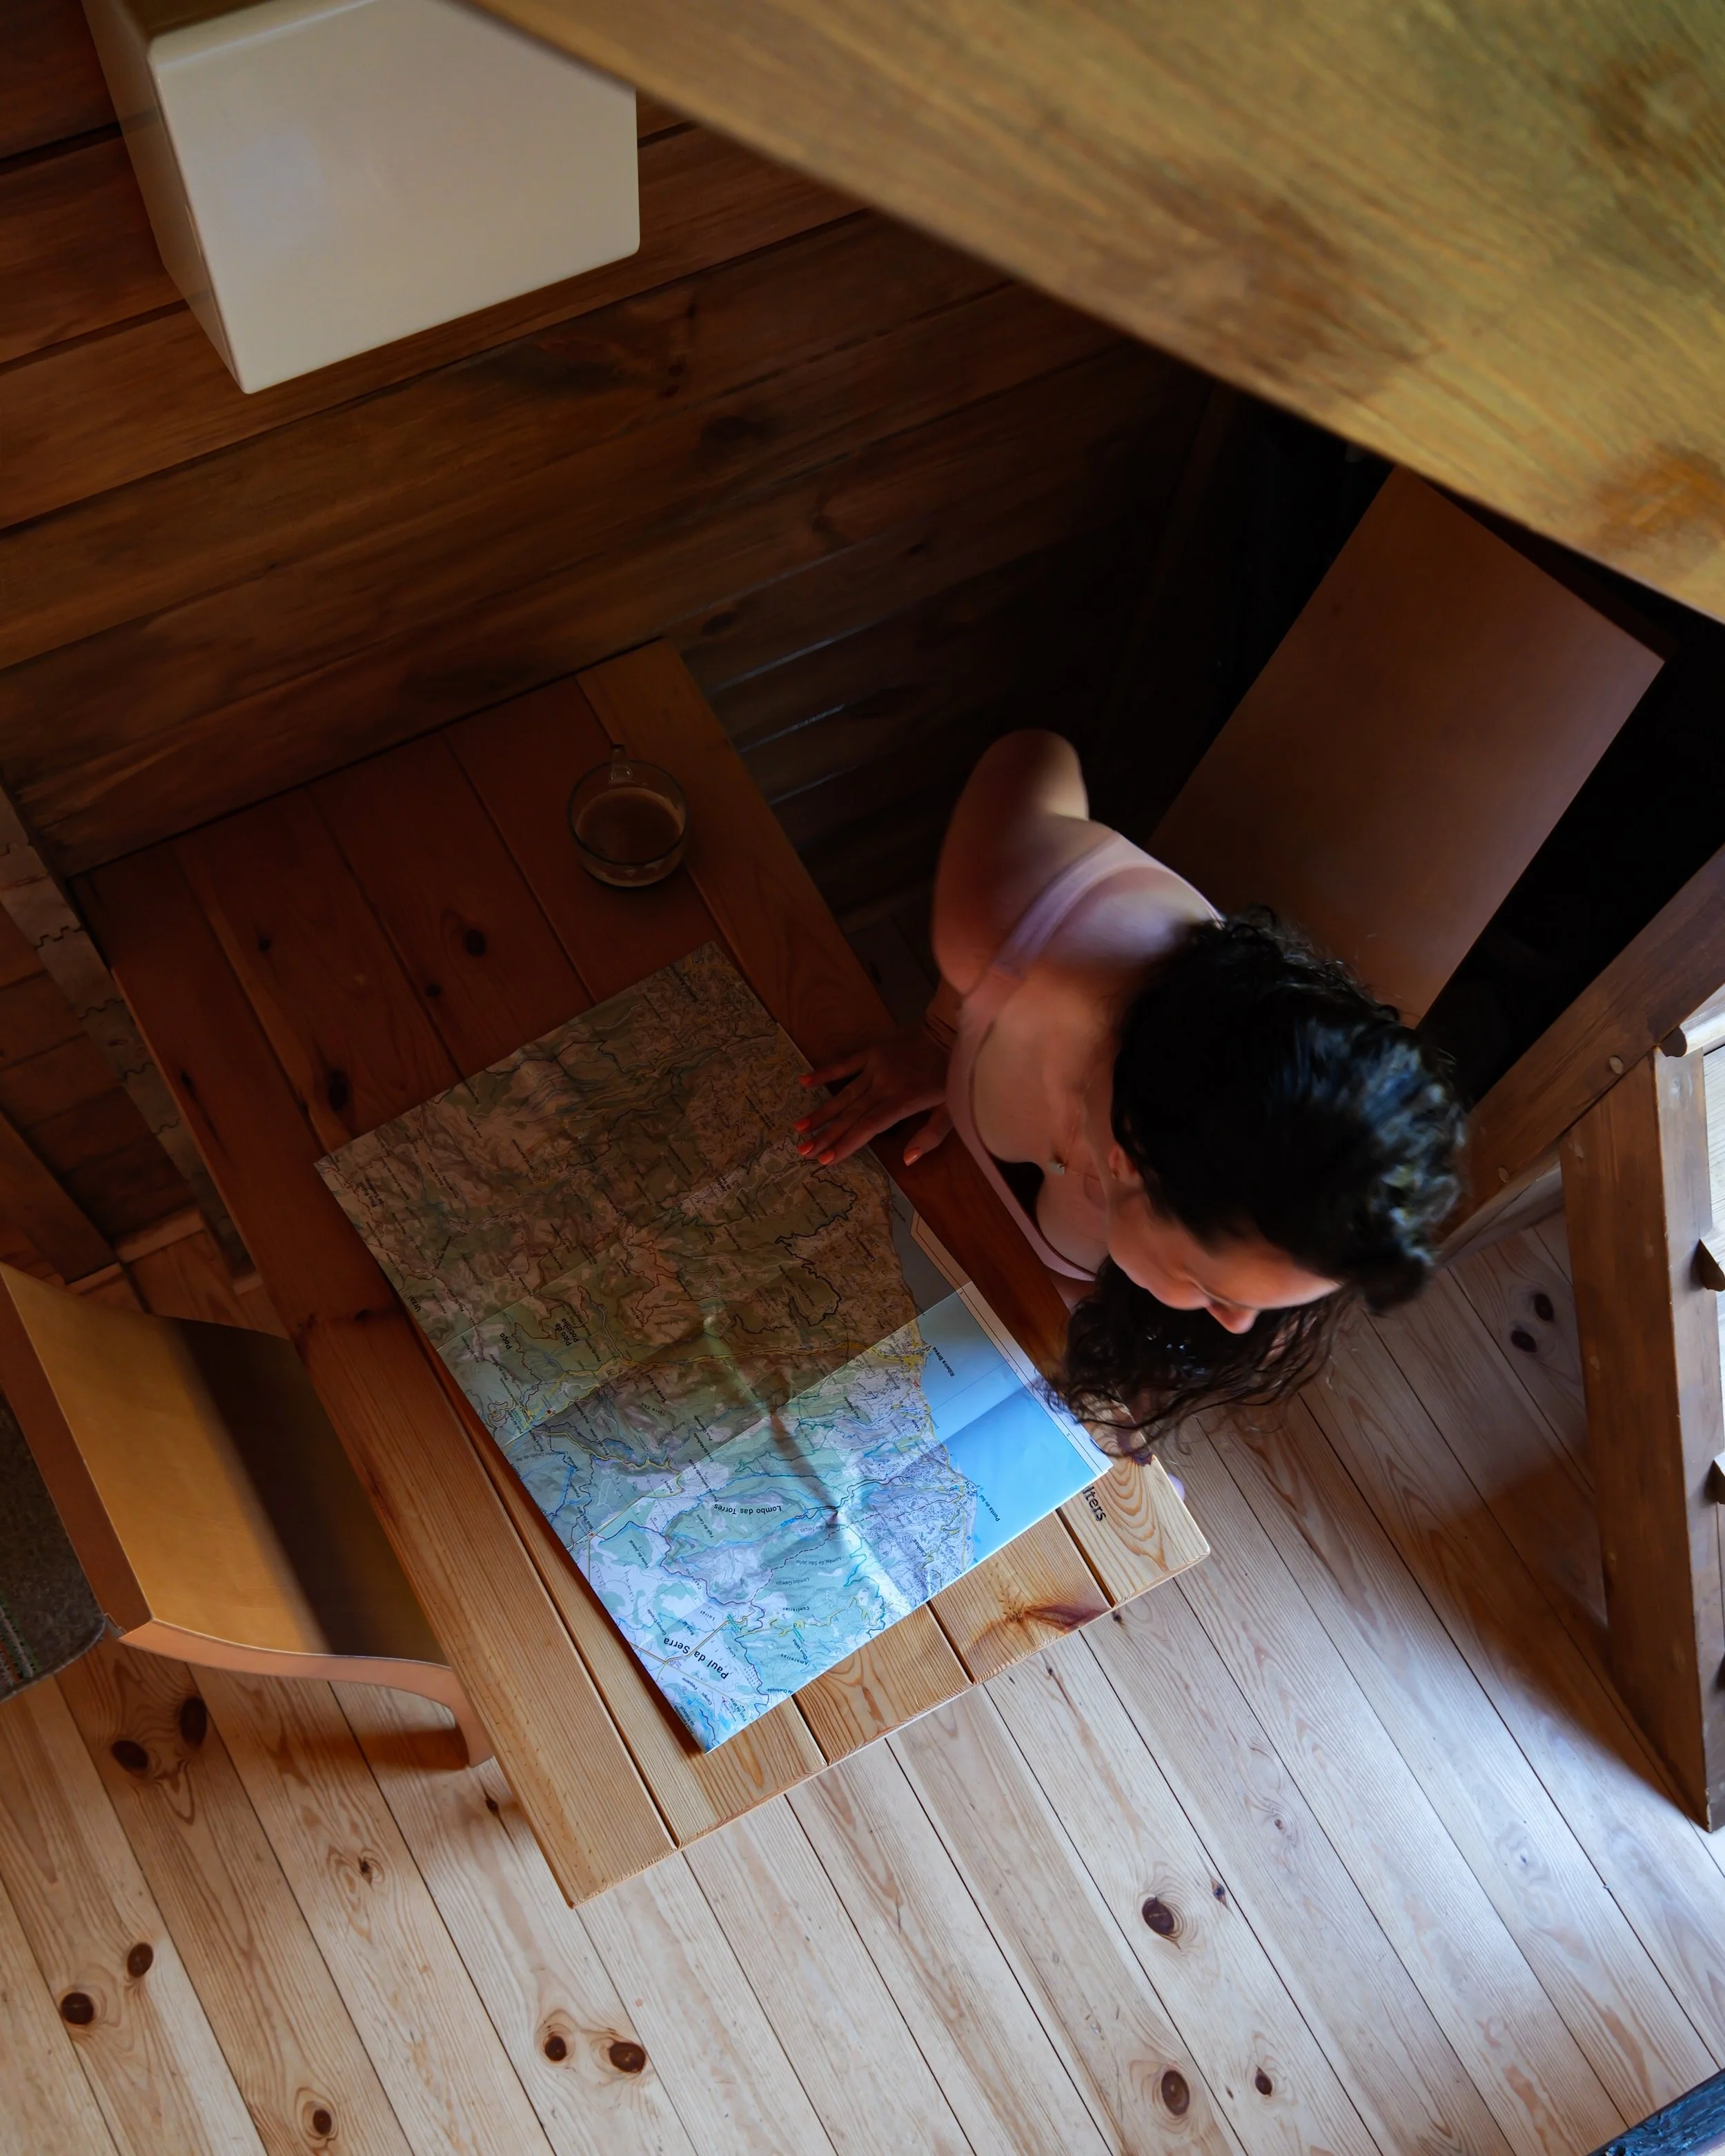
When I first started planning, I quickly realized just how many decisions there were to make. Which direction should we hike? How many days should we allow? Where should we stay? How would we move our luggage? Should we book a guided trip or plan it ourselves?
It took weeks of research to piece everything together. The goal of this guide is to save you that time.
Below, I’ll walk through exactly how we planned our traverse—from choosing our route and accommodation to booking transportation, organizing luggage transfers and packing for a week in the Alps. I’ll also share what worked well, what I’d change next time, and a few lessons we learned along the way so you can build an itinerary that suits your own adventure.
Planning Checklist
✓ Choose your hiking dates
✓ Decide on a route and direction
✓ Book accommodation
✓ Purchase a Swiss Half Fare Card & Download the SBB app
✓ Arrange luggage transfers
✓ Pack for hut-to-hut hiking
When is the Best Time to Hike the Bernese Oberland Traverse?
For most hikers, the best time to complete the Bernese Oberland Traverse is July through September.
We hiked in late June and early July, and overall I thought the timing was excellent.
Most of the high alpine trails had melted out, the mountain huts were fully operating, and the wildflowers were absolutely spectacular. We did encounter a few small snow patches near the higher passes, but they were easy to cross with trekking poles and didn’t require microspikes.
The biggest weather pattern we noticed was afternoon thunderstorms. Several days started with blue skies before clouds built throughout the afternoon, bringing rain or thunder for an hour or two before clearing again in the evening.
Looking back, I think starting early each morning was one of the best decisions we made.
July
✔ Peak wildflowers
✔ Long daylight hours
✔ Nearly all trails open
✔ Warm valley temperatures
✔ Excellent hut atmosphere
August
Very similar conditions, although you’ll generally encounter more visitors during European summer holidays.
September
A fantastic option if you prefer cooler hiking temperatures and fewer crowds, although shorter days and early snowfall become more of a possibility toward the end of the month.
💡 Cassie’s Tip: If your itinerary includes Hohtürli Pass or other higher sections of the route, always check trail conditions with your accommodation or the local tourism office before setting out.
Which Direction Should You Hike?
One of the first decisions you’ll make is whether to hike the route westbound or eastbound.
There isn’t necessarily a right answer, but after hiking westbound, I wouldn’t change it.
Our route started in Meiringen and finished in Leukerbad, allowing us to continue directly to Zermatt afterward. It also meant we reached iconic locations like First, Mürren and Oeschinensee in an order that felt really natural.
One of the biggest advantages of heading westbound was finishing with the spectacular hike over Gemmi Pass into Leukerbad before catching the train to Zermatt for a few well-earned rest days.
If you’re planning to continue your Switzerland itinerary afterward, think about where you want to go next. In our case, ending closer to Zermatt made perfect sense.
Guided, Self-Guided or Independent?
There are several ways to complete the Bernese Oberland Traverse.
Guided Tours
Several companies offer fully guided versions of the route.
These typically include accommodation, transportation, luggage transfers and an experienced guide.
This is a great option if you’re new to multi-day hiking or simply don’t want to worry about logistics, but it also comes with a significantly higher price tag and less flexibility.
Self-Guided Packages
Many companies also offer self-guided itineraries where they arrange your accommodation and luggage transfers while you hike independently.
This is a nice middle ground if you’d rather not organize everything yourself.
Planning It Yourself (What We Did)
We planned the trip ourselves using The Hiking Club as our starting point.
Honestly, I think this gave us the best balance of flexibility and convenience.
How The Hiking Club Helped Plan Our Route
Planning a hut-to-hut hike in Switzerland can feel overwhelming at first.
There are dozens of possible routes, hundreds of accommodations, multiple transportation options and endless trail variations.
The tool that made the biggest difference for me was The Hiking Club.
I’d actually been introduced to it several years earlier by Andrea, and when it came time to plan this trip, it was the first place I started.
Instead of manually trying to piece together every stage, the app asks a few simple questions, including:
How many days you want to hike.
Your hiking experience.
Your preferred daily distance.
How much elevation you’re comfortable with.
Whether you’d rather stay in huts, hotels or a mix of both.
From there, it generates complete itineraries with suggested accommodations, transportation connections and alternate route options.
We didn’t follow the suggested itinerary exactly, but it saved me countless hours by giving me an excellent starting point.
It also helped identify several alternate routes that I probably wouldn’t have discovered on my own.
At around $150 CAD, it was one of the best planning investments we made.
Hotels, Mountain Huts or Both?
One of the things that made this itinerary work so well was mixing traditional Swiss hotels with mountain huts. It gave us the authentic hut-to-hut experience while still allowing us to recharge every few days with a proper shower, laundry and a comfortable bed.
If I planned this trip again, I’d follow almost the exact same approach.
Interlaken – Hotel Lötschberg (2 Nights)
We used Interlaken as our home base before starting the traverse and again halfway through the hike. Its central location made it the perfect place to leave our luggage, reorganize gear and reset before continuing on to Mürren.
It isn’t the most charming town on the route, but from a logistics standpoint it was hard to beat.
Why we chose it
Excellent train connections.
Easy luggage storage.
Laundry facilities nearby.
Great starting point for Schynige Platte and Harder Kulm.
Berggasthaus First (1 Night)
This was one of the highlights of the entire trip.
Rather than visiting First as a day trip, we stayed overnight in a private room. Once the final gondola left around 7 p.m., the crowds disappeared and the mountain became incredibly peaceful.
Watching sunset from First and hiking to Bachalpsee before breakfast are memories I’ll never forget.
Would I stay here again?
Without hesitation.
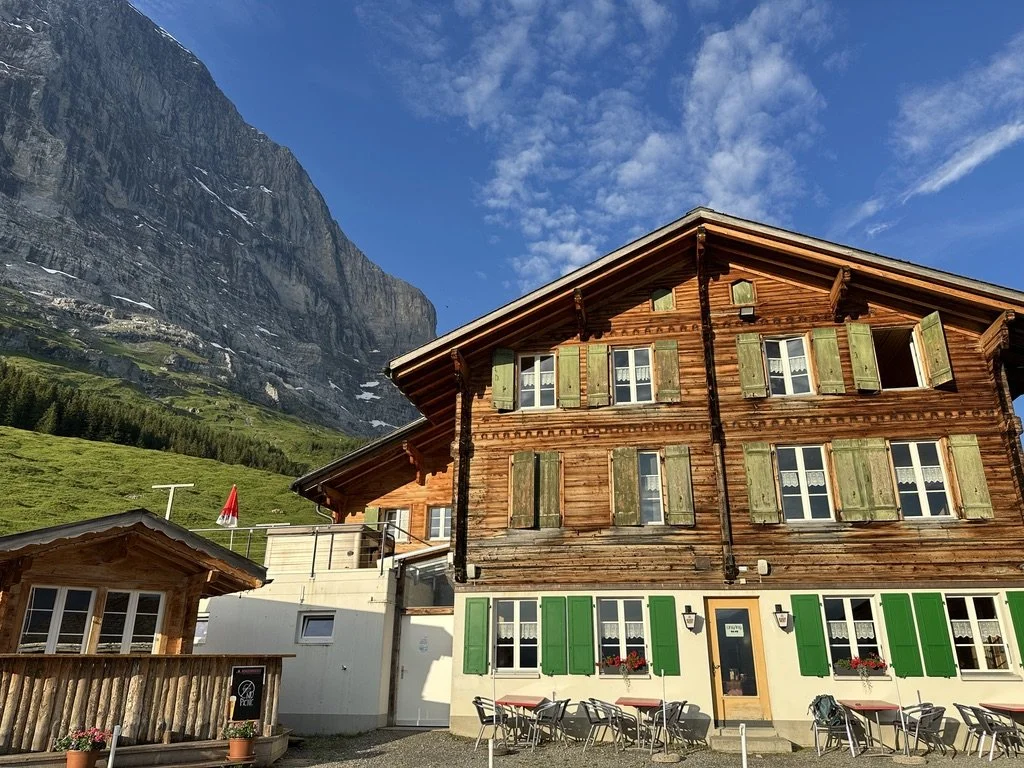
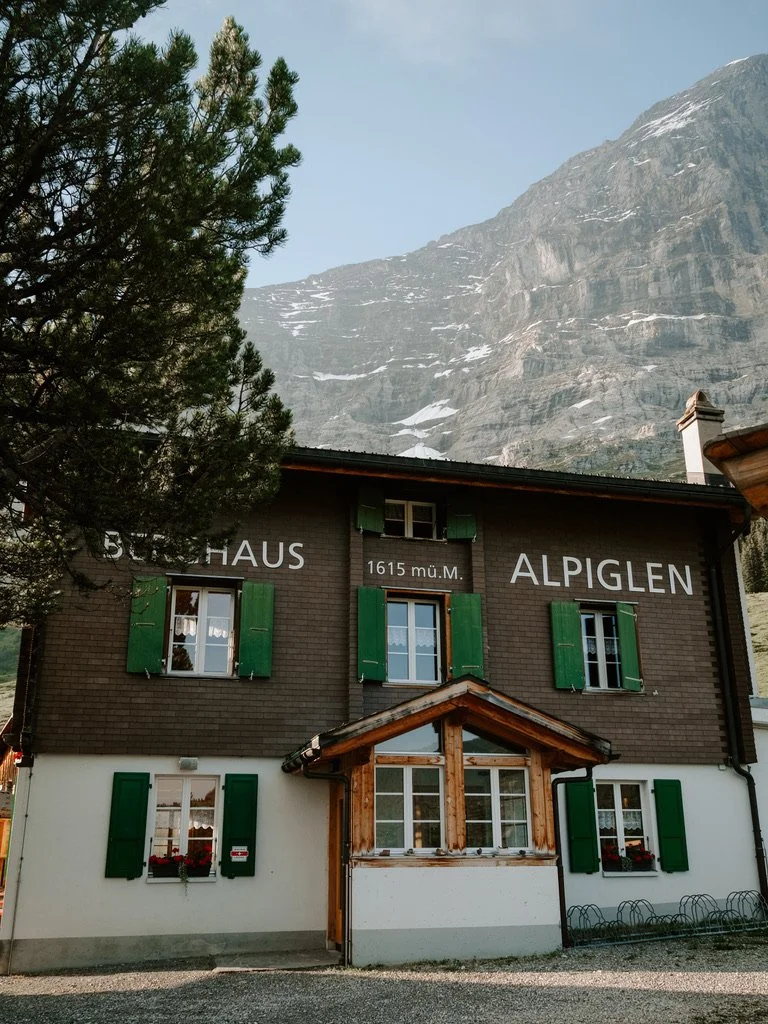
Berghaus Alpiglen (1 Night)
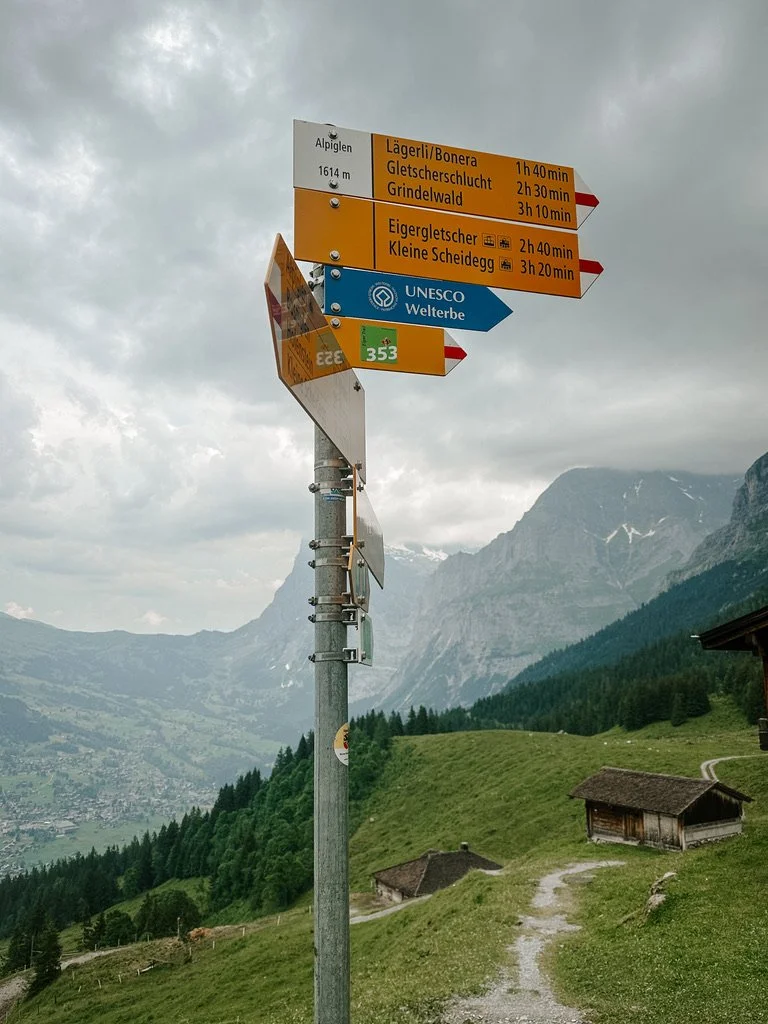
Perched beneath the Eiger, Alpiglen was the perfect stop after our hike down from First.
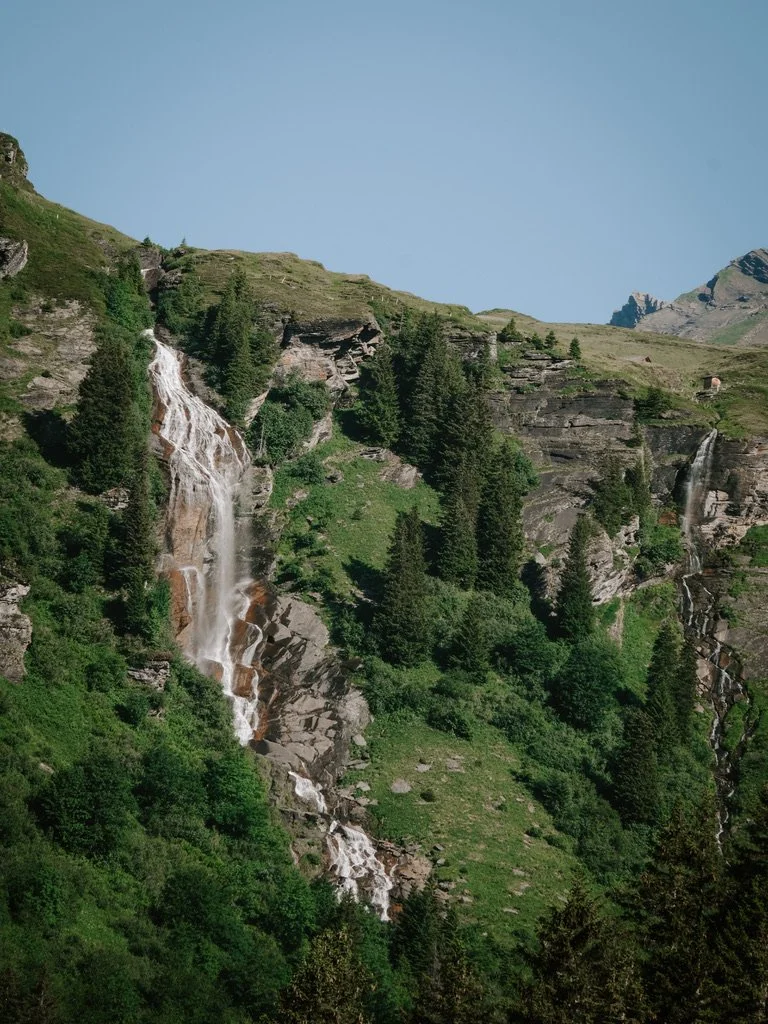
We arrived soaking wet after hiking through one of the biggest thunderstorms of the trip, but by evening the skies had cleared and waterfalls poured down the Eiger’s cliffs everywhere we looked.
Sometimes the weather creates the best memories.
Mürren Palace Hotel (1 Night)
After several long hiking days, Mürren Palace felt like an incredible reward.
The spa, pool and infrared loungers were exactly what our legs needed before another mountain day.
The fondue at dinner was also one of our favourite meals of the trip.
Gspaltenhornhütte (1 Night)
If I had to choose my favourite mountain hut, this would probably be it.
Built high on the mountainside and dating back to the early 1900s, it feels incredibly remote while still offering warm meals, comfortable rooms and one of the best sunset patios I’ve ever experienced.
Watching everyone gather outside after dinner as the clouds cleared is something I’ll always remember.
Hotel Ermitage, Kandersteg (1 Night)
After crossing Hohtürli Pass and hiking down past Oeschinensee, we were more than ready for a comfortable hotel.
Kandersteg also makes a great place to recover before tackling the final stage to Leukerbad.
Hotel Römerhof, Leukerbad (1 Night)
Crossing Gemmi Pass before descending into Leukerbad was the perfect finale to the traverse.
We stayed at Hotel Römerhof before catching the train to Zermatt the following morning.
Check out my Expedia Travel Shop for more details!
Should You Build in Rest Days?
Absolutely.
Even if you’re an experienced hiker, I’d recommend building at least one or two lower-intensity days into your Switzerland itinerary.
For us, that meant:
Two nights in Interlaken before starting.
Returning to Interlaken midway through the trip.
Three nights in Zermatt after finishing.
Those extra days gave us time to:
Wash clothes.
Repack our bags.
Explore nearby attractions.
Enjoy spa facilities.
Recover before the next section.
By the time we reached Zermatt, our legs were definitely ready for a slower pace.
Planning Around Public Transportation
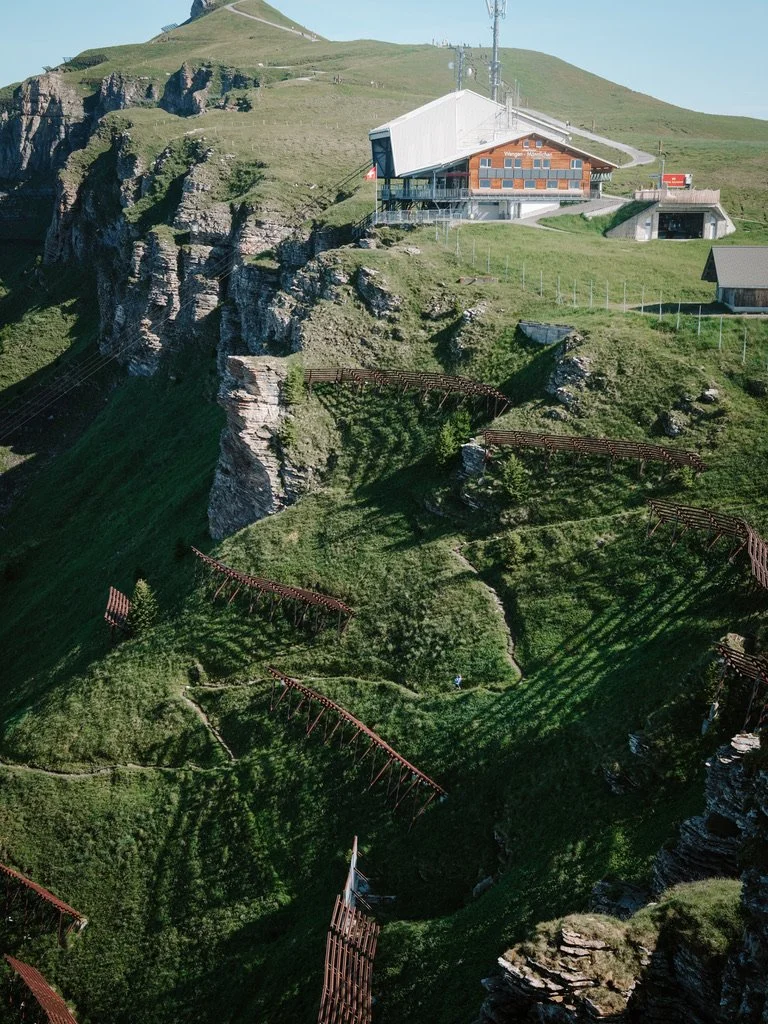
One of the biggest reasons this hike is so accessible is Switzerland’s incredible public transportation system. We didn’t rent a car for any part of the trip—and honestly, I don’t think having one would have made it any easier.
Instead, every transfer was completed using:
SBB trains
Local buses
Mountain railways
Gondolas
Cable cars
The SBB Mobile App quickly became one of the most-used apps on my phone.
We used it to:
Purchase train tickets
Store our Swiss Half Fare Cards
Check departure platforms
Monitor delays
Plan every transfer throughout the trip
Everything connected incredibly smoothly, and we never had any issues making transfers between trains, buses or gondolas.
One thing that surprised me was how little we needed to pre-book. We travelled in late June and early July and purchased almost all of our transportation as we went, giving us the flexibility to adjust our plans if the weather changed or we wanted to spend more time somewhere.
If you’re travelling during the busiest weeks of summer—particularly July and August—you may want to book popular mountain railways like Jungfraujoch or First in advance, especially if you have a tight itinerary. That said, for standard SBB trains and most regional transportation, we found it easy to book tickets on the day through the app.
💡 Cassie’s Tip: Download the SBB Mobile App and create an account before you leave home. Adding your Swiss Half Fare Card to the app makes buying tickets incredibly quick, and having all your bookings in one place makes travelling around Switzerland almost effortless.
Using SBB Luggage Transfer
This might be my favourite Switzerland travel tip.
Instead of carrying two weeks of clothing and gear on our backs, we left our main luggage at Hotel Lötschberg in Interlaken while we started the traverse.
After three days on the trail, we returned to Interlaken, did laundry, repacked our bags and then used SBB’s luggage transfer service to send everything ahead to Zermatt before continuing our hike. The transfer cost us approximately $235 CAD total (about $117 CAD per person) and was worth every penny.
Switzerland Trip - Sheet1 (1).pdf
That meant we only carried:
A couple of changes of clothes.
Toiletries.
Snacks.
Camera gear.
Trekking poles.
Hiking essentials.
Our packs stayed light, which made a huge difference over seven days of hiking.
If you’re combining hotels with hut stays like we did, I can’t recommend this service enough.
Our 7-Day Bernese Oberland Traverse Itinerary
One of the things I loved most about this route was how different every day felt. Rather than following one long valley, the trail constantly changes—moving through forests, alpine meadows, glacier viewpoints, mountain villages and high passes.
Here’s exactly how we completed the traverse.
Day 1: Meiringen to Berggasthaus First
Distance: 18.9 km
Elevation Gain: +1,681 m
Time: ~7 hours
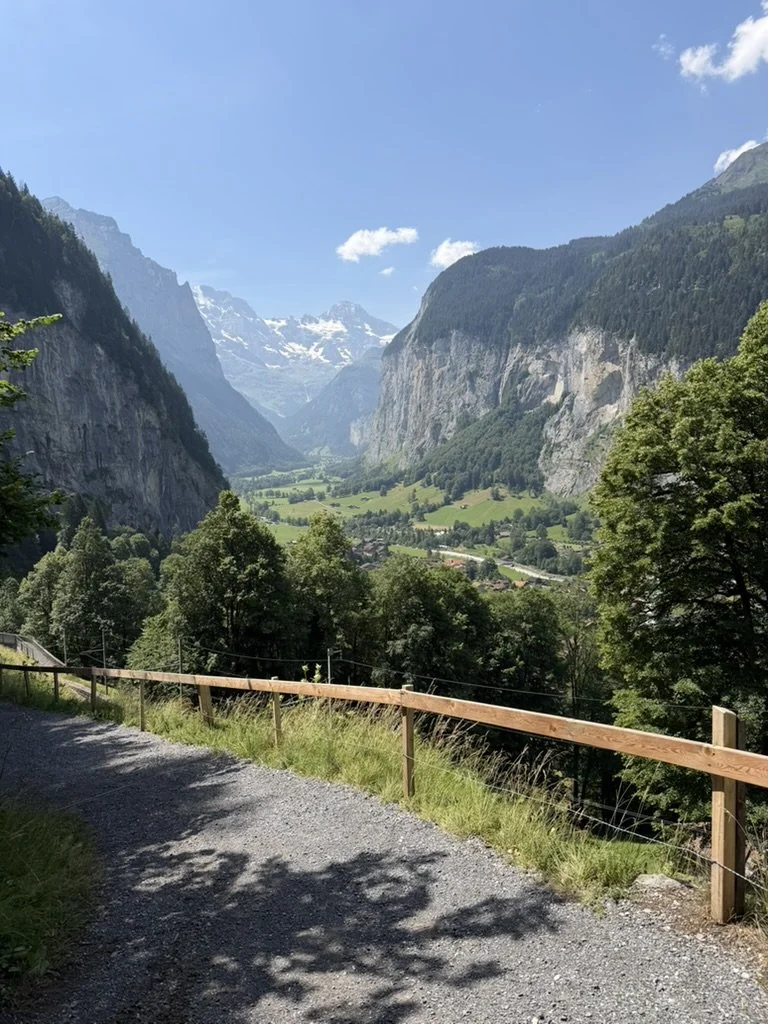
We started in Meiringen, climbing through the beautiful Rychenbach Valley before entering Rosenlaui Valley.
One of my favourite little moments of the day came at an honesty fridge on a farm along the trail. After hours of climbing in the sun, finding ice-cold bottles of Coca-Cola for 3 CHF felt like absolute luxury.
The final climb to First was steady but rewarding.
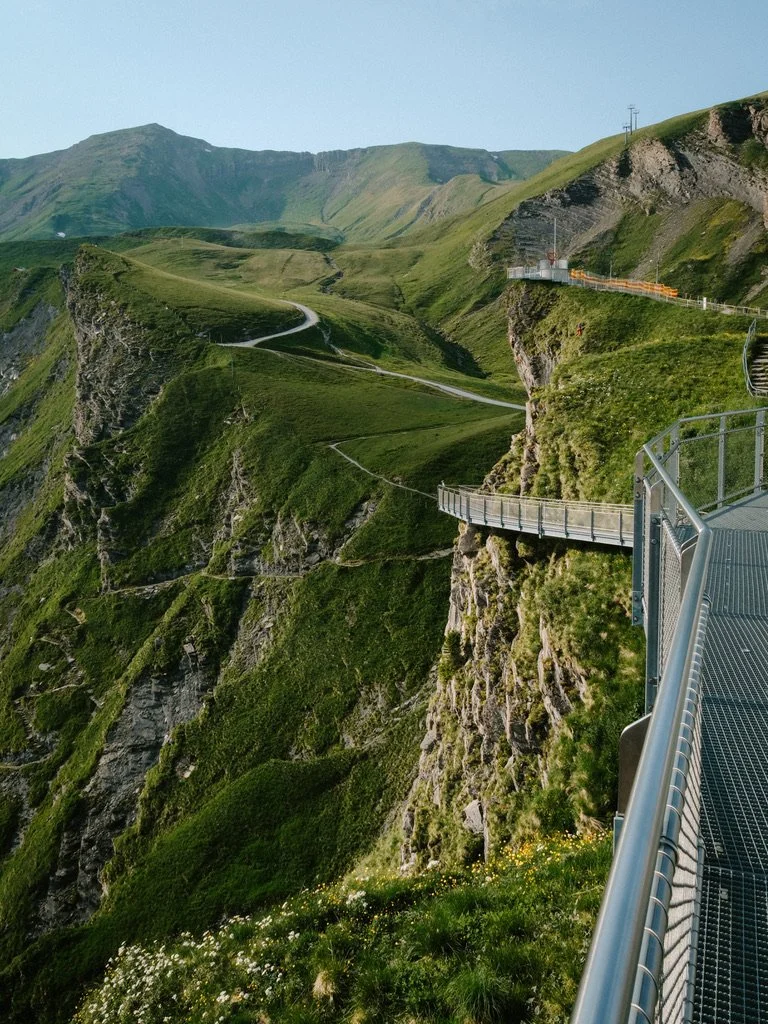
After checking into Berggasthaus First, we walked the First Cliff Walk before watching the mountain slowly empty as the final gondolas returned to Grindelwald.
Trail highlights
Rychenbach Valley Trail
Rosenlaui Valley
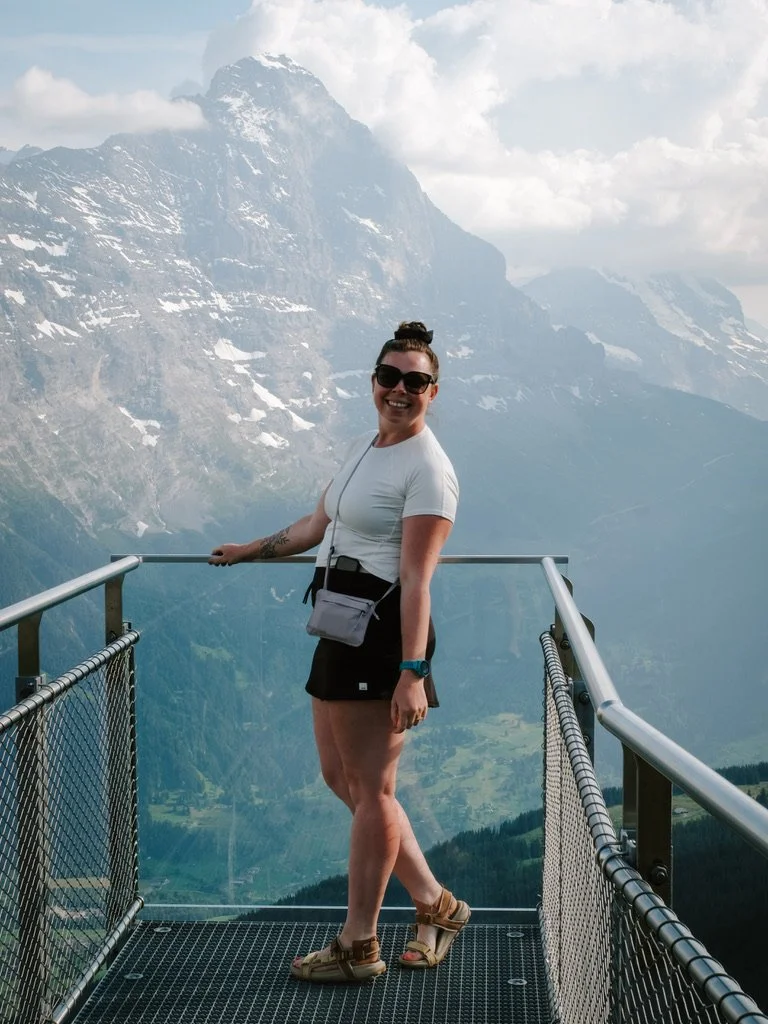
First Cliff Walk
Sunset from Berggasthaus First
Day 2: First to Berghaus Alpiglen
Distance: 20.0 km
Elevation Gain: +1,014 m
Time: ~6.5 hours
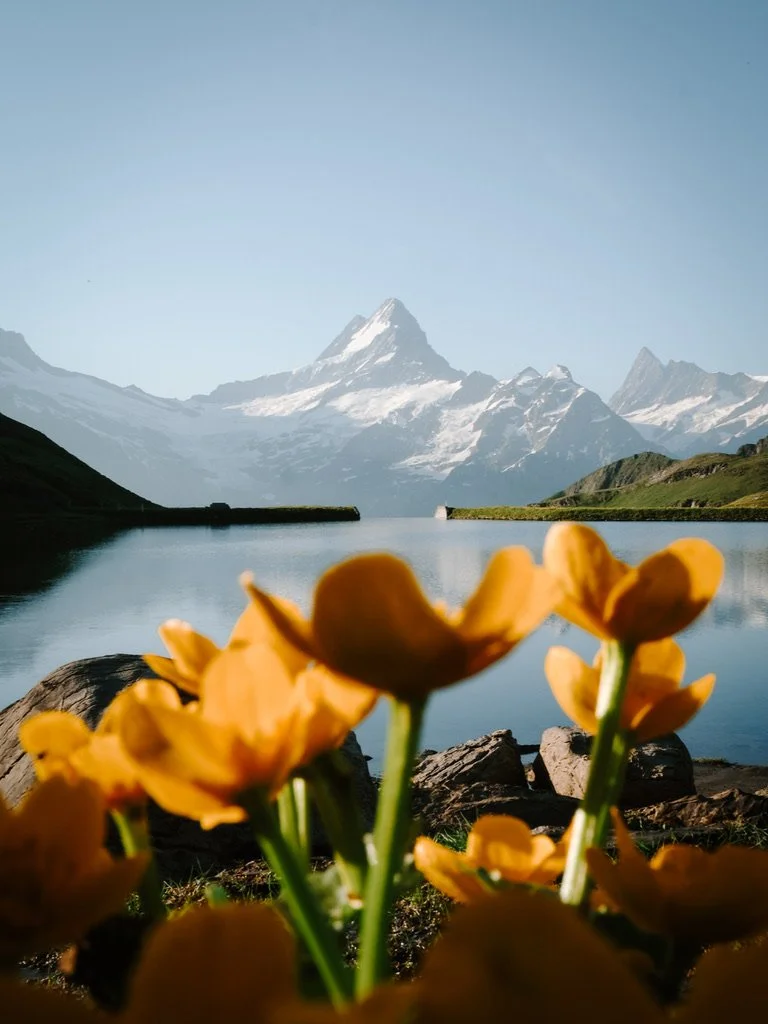
Before breakfast we made the short walk out to Bachalpsee, arriving while the lake was still calm enough to perfectly reflect the surrounding peaks.
It was absolutely worth the early start.
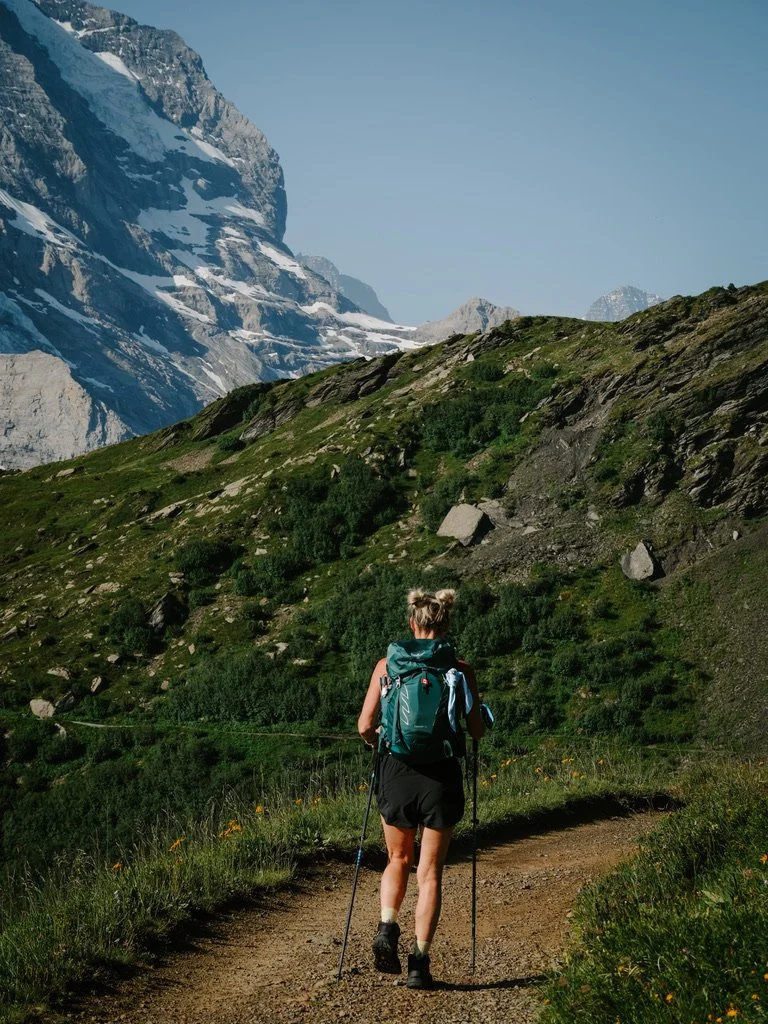
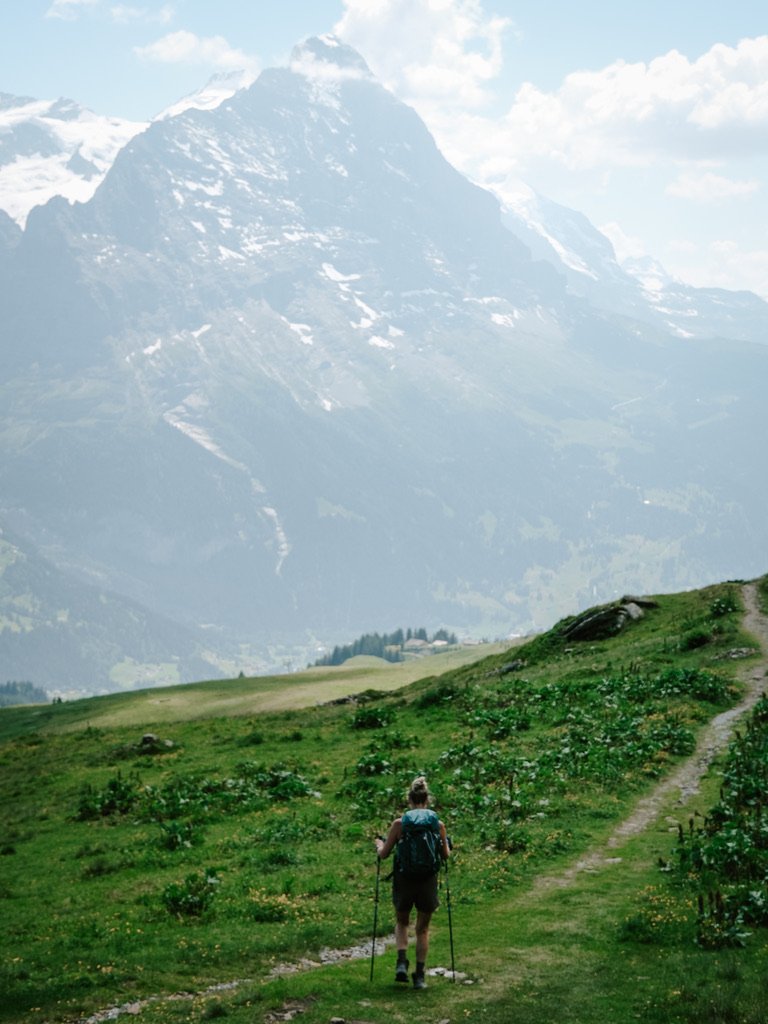
From there we descended toward Grindelwald before joining the spectacular Eiger Trail.
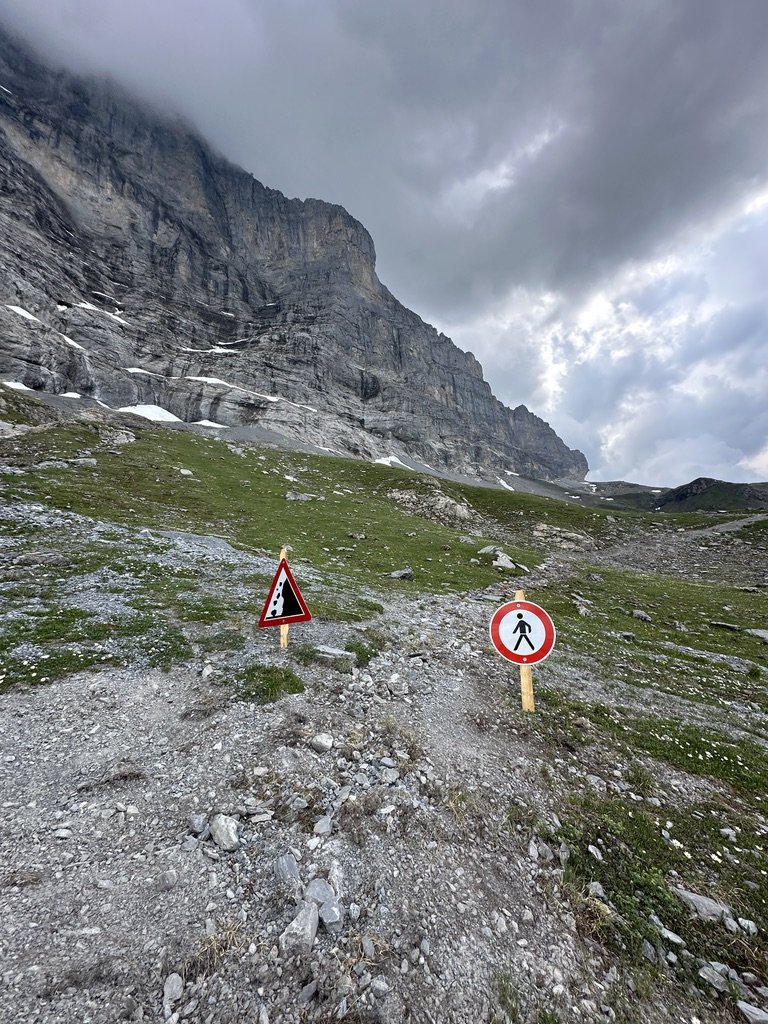
The final 45 minutes brought heavy rain, hail and thunder, leaving everyone arriving at Berghaus Alpiglen completely drenched.
Thankfully the storm passed just as quickly as it arrived, revealing spectacular waterfalls cascading down the Eiger after dinner.
Trail highlights
Bachalpsee
Grindelwald
Eiger Trail
Sunset beneath the Eiger
Day 3: Alpiglen to Lauterbrunnen
Distance: 22.0 km
Elevation Gain: +1,123 m
Time: ~8.5 hours
Today’s hike connected several of the Jungfrau Region’s most iconic trails.
We climbed toward Männlichen, detoured up the Royal Walk, then continued through Wengen before descending the incredibly steep trail into Lauterbrunnen.
That evening we took the train back to Interlaken to reunite with our luggage, do laundry and send our main bags ahead to Zermatt using SBB’s luggage transfer service.
Trail highlights
Eiger Trail
Männlichen Trail
Royal Walk
Wengen
Lauterbrunnen
Day 4: Lauterbrunnen to Mürren
Distance: 19.2 km
Elevation Gain: +1,769 m
Time: ~8 hours
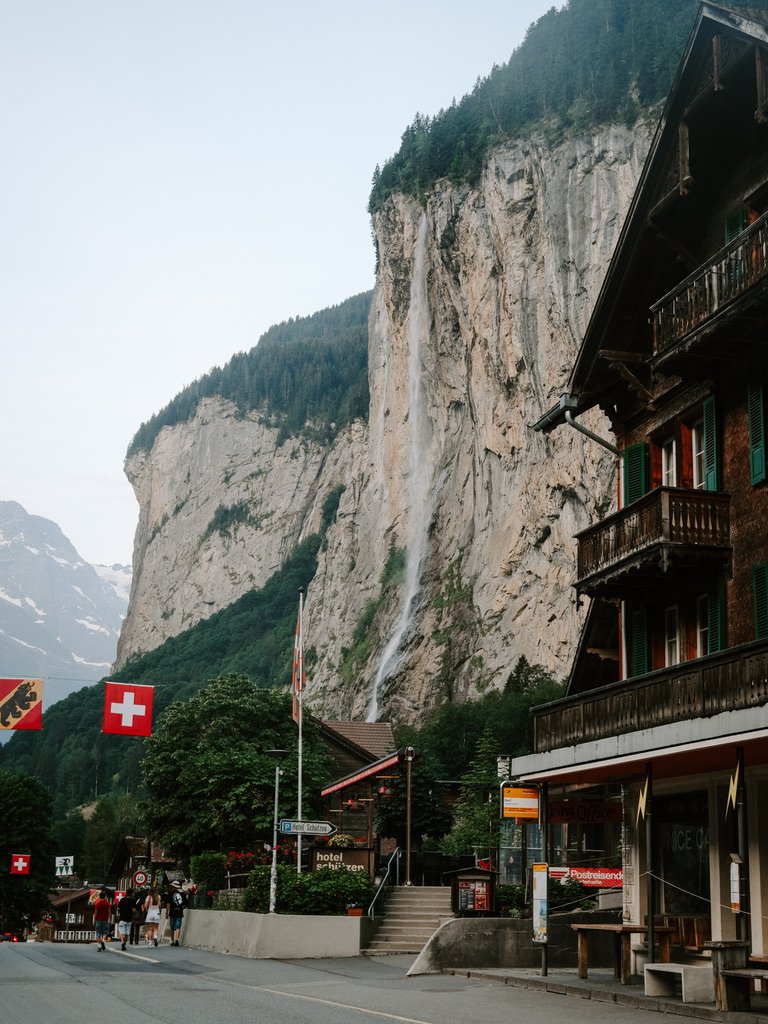
After catching the first morning train back to Lauterbrunnen, we followed the valley before climbing toward Gimmelwald.
Although Lauterbrunnen is famous for its waterfalls, many had already dried up by early July. I imagine this section would be incredible after a period of heavy rain.
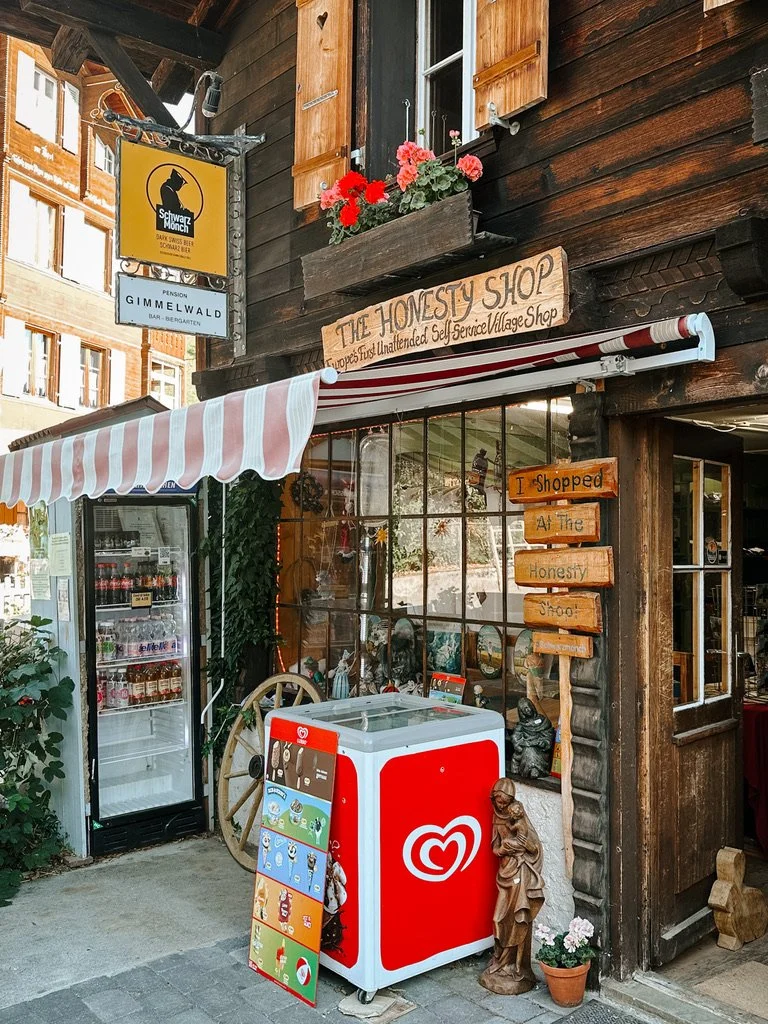
Once we reached Gimmelwald, another honesty shop provided the perfect excuse for a cold Coke before continuing into Mürren.
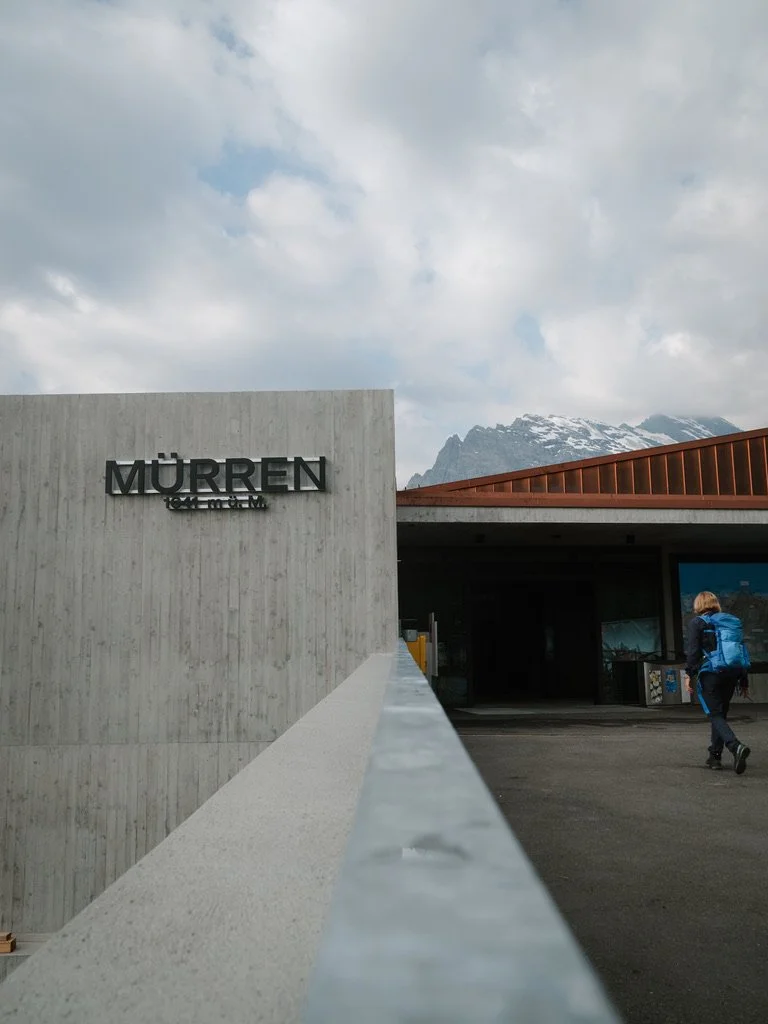
Arriving before lunch meant we could spend the afternoon relaxing in the spa at Mürren Palace before I rode the gondola up to Birg to walk the Thrill Walk and scope out the next day’s route.
Trail highlights
Lauterbrunnen Valley
Gimmelwald
Mürren
Birg Thrill Walk
Day 5: Mürren to Gspaltenhornhütte
Distance: 12.9 km
Elevation Gain: +1,318 m
Time: ~6 hours
Although one of the shorter days, this was also one of the most enjoyable.
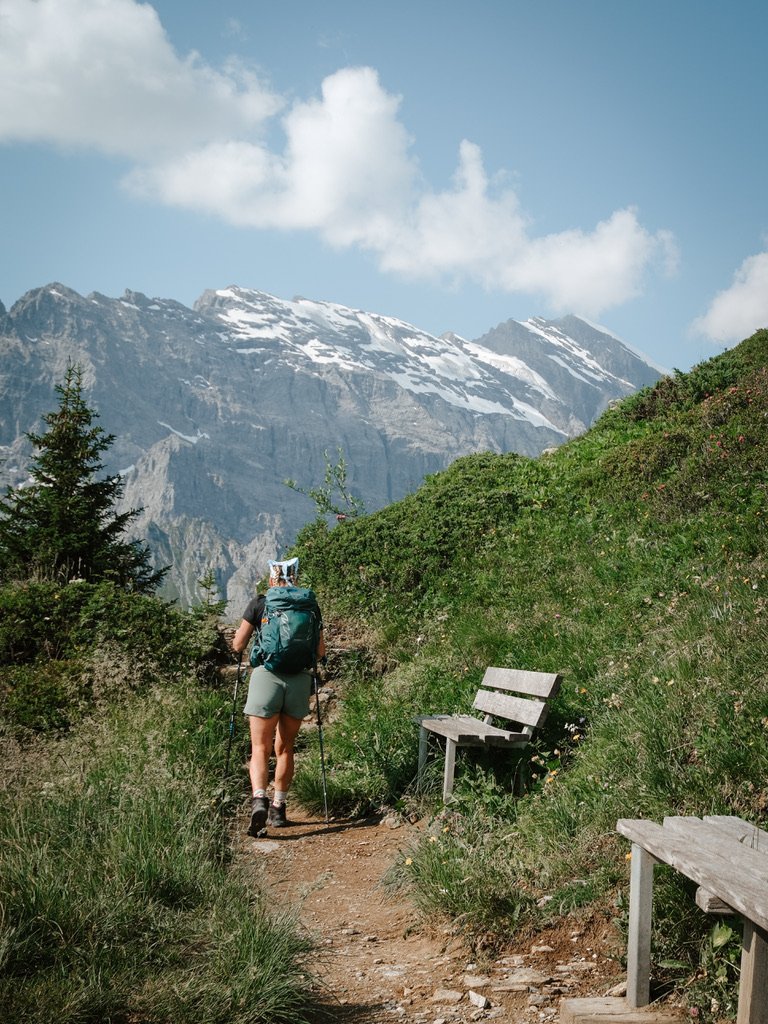
The route followed the spectacular Northface Trail before climbing toward Rotstockhütte and eventually Gspaltenhornhütte.
There were a few ladders, some fixed steps and a handful of lingering snow crossings, but nothing that required technical equipment during our visit.
Another afternoon thunderstorm rolled through shortly after we arrived before clearing just in time for an unforgettable sunset from the hut patio.
Trail highlights
Northface Trail
Rotstockhütte
Gspaltenhornhütte
Sunset at the hut
Day 6: Gspaltenhornhütte to Kandersteg
Distance: 18.3 km
Elevation Gain: +991 m
Time: ~7.5 hours
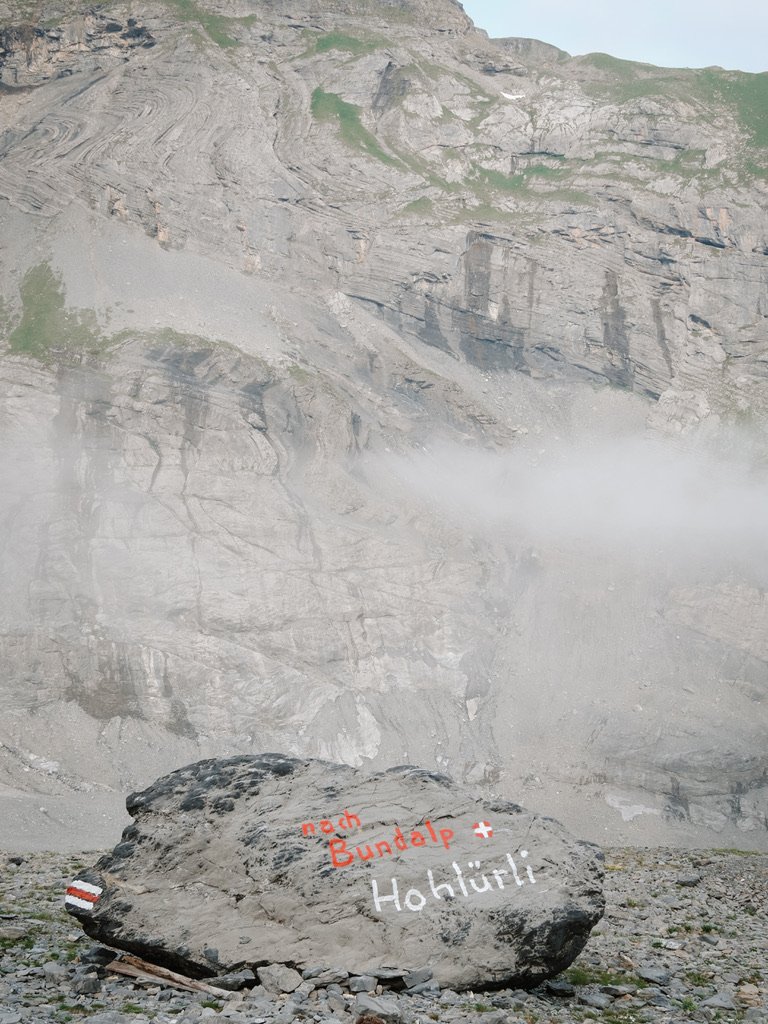
We spent most of the morning hiking through cloud before climbing over Hohtürli Pass.
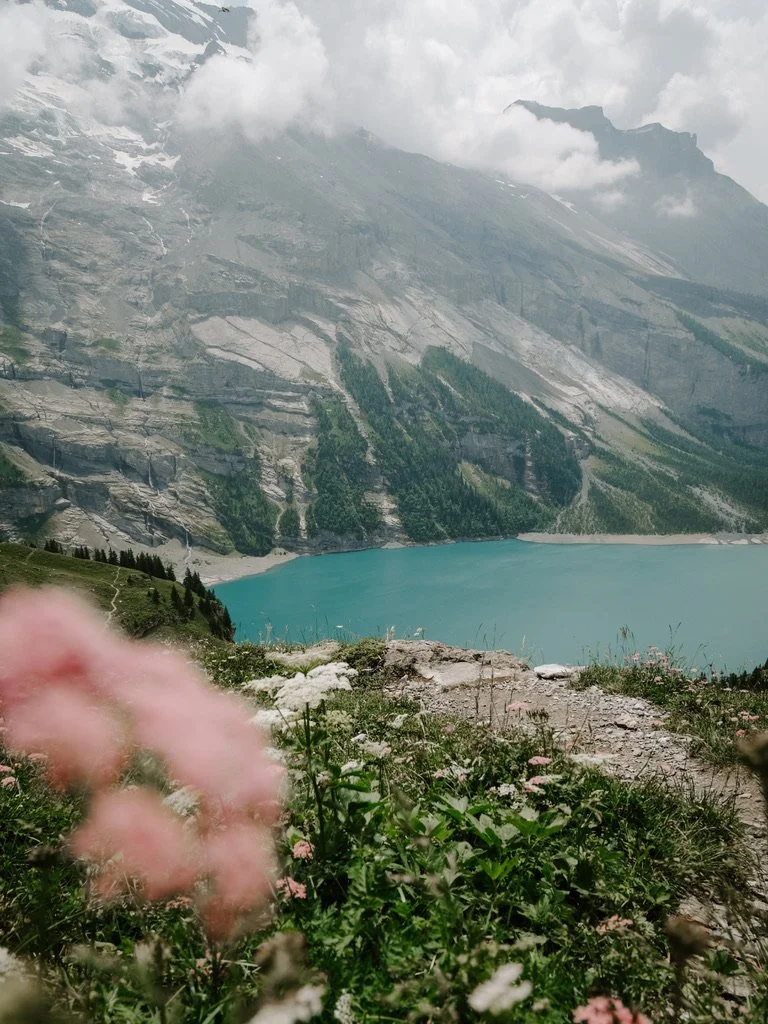
While we missed some of the views on the ascent, the skies finally began to clear as we descended toward Oeschinensee.
It was by far the busiest place we encountered during the entire traverse—but also one of the most beautiful.
From there, it was a long descent into Kandersteg for a well-earned shower and comfortable bed.
Trail highlights
Hohtürli Pass
Oeschinensee
Kandersteg
Day 7: Kandersteg to Leukerbad
Distance: 24.1 km
Elevation Gain: +1,761 m
Time: ~9 hours
The final day was also our biggest.
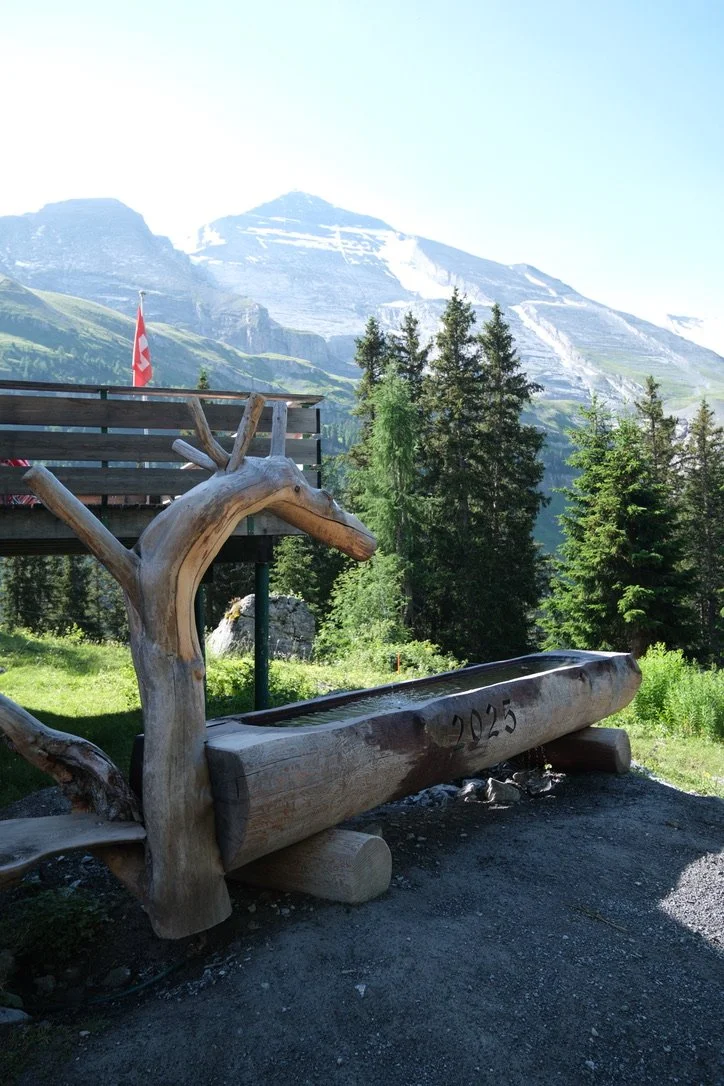
We climbed steadily toward Schwarenbach, continued past Daubensee, crossed Gemmi Pass, then opted to take the Gemmi cable car down into Leukerbad to save our knees after a long week on the trail.
Originally we planned to hike a higher ridge section but missed the turnoff early in the day. Rather than backtracking, we continued through the valley instead. While it wasn’t the route we’d intended, it was still a beautiful finish to an unforgettable week in the Alps.
Trail highlights
Schwarenbach
Daubensee
Gemmi Pass
Leukerbad
What Should You Pack?
Packing for a hut-to-hut hike in Switzerland is very different from packing for a traditional backpacking trip. Since we stayed in a mix of mountain huts and hotels, used SBB’s luggage transfer service, and planned a laundry stop midway through the trip, we were able to keep our packs much lighter than expected.
Read my complete guide: What to Pack for the Bernese Oberland Traverse, where I share my full packing list, favourite gear, what I was most grateful to have, and what I’d leave at home next time.
Interested in the Ultimate Swiss Adventure?
Check out our complete Switzerland Guide and get ready for the trip of a lifetime!